SPECIFICATIONS
Wheelbase: Screws
Use: Vehicles & Remote Control Toys
Upgrade Parts/Accessories: Adapter
Tool Supplies: Assembly Category
Size: 2 inch
Remote Control Peripherals/Devices: Remote Controller
Recommend Age: 14+y
Recommend Age: 12+y
RC Parts & Accs: Connectors/Wiring
Quantity: 1 pcs
Origin: Mainland China
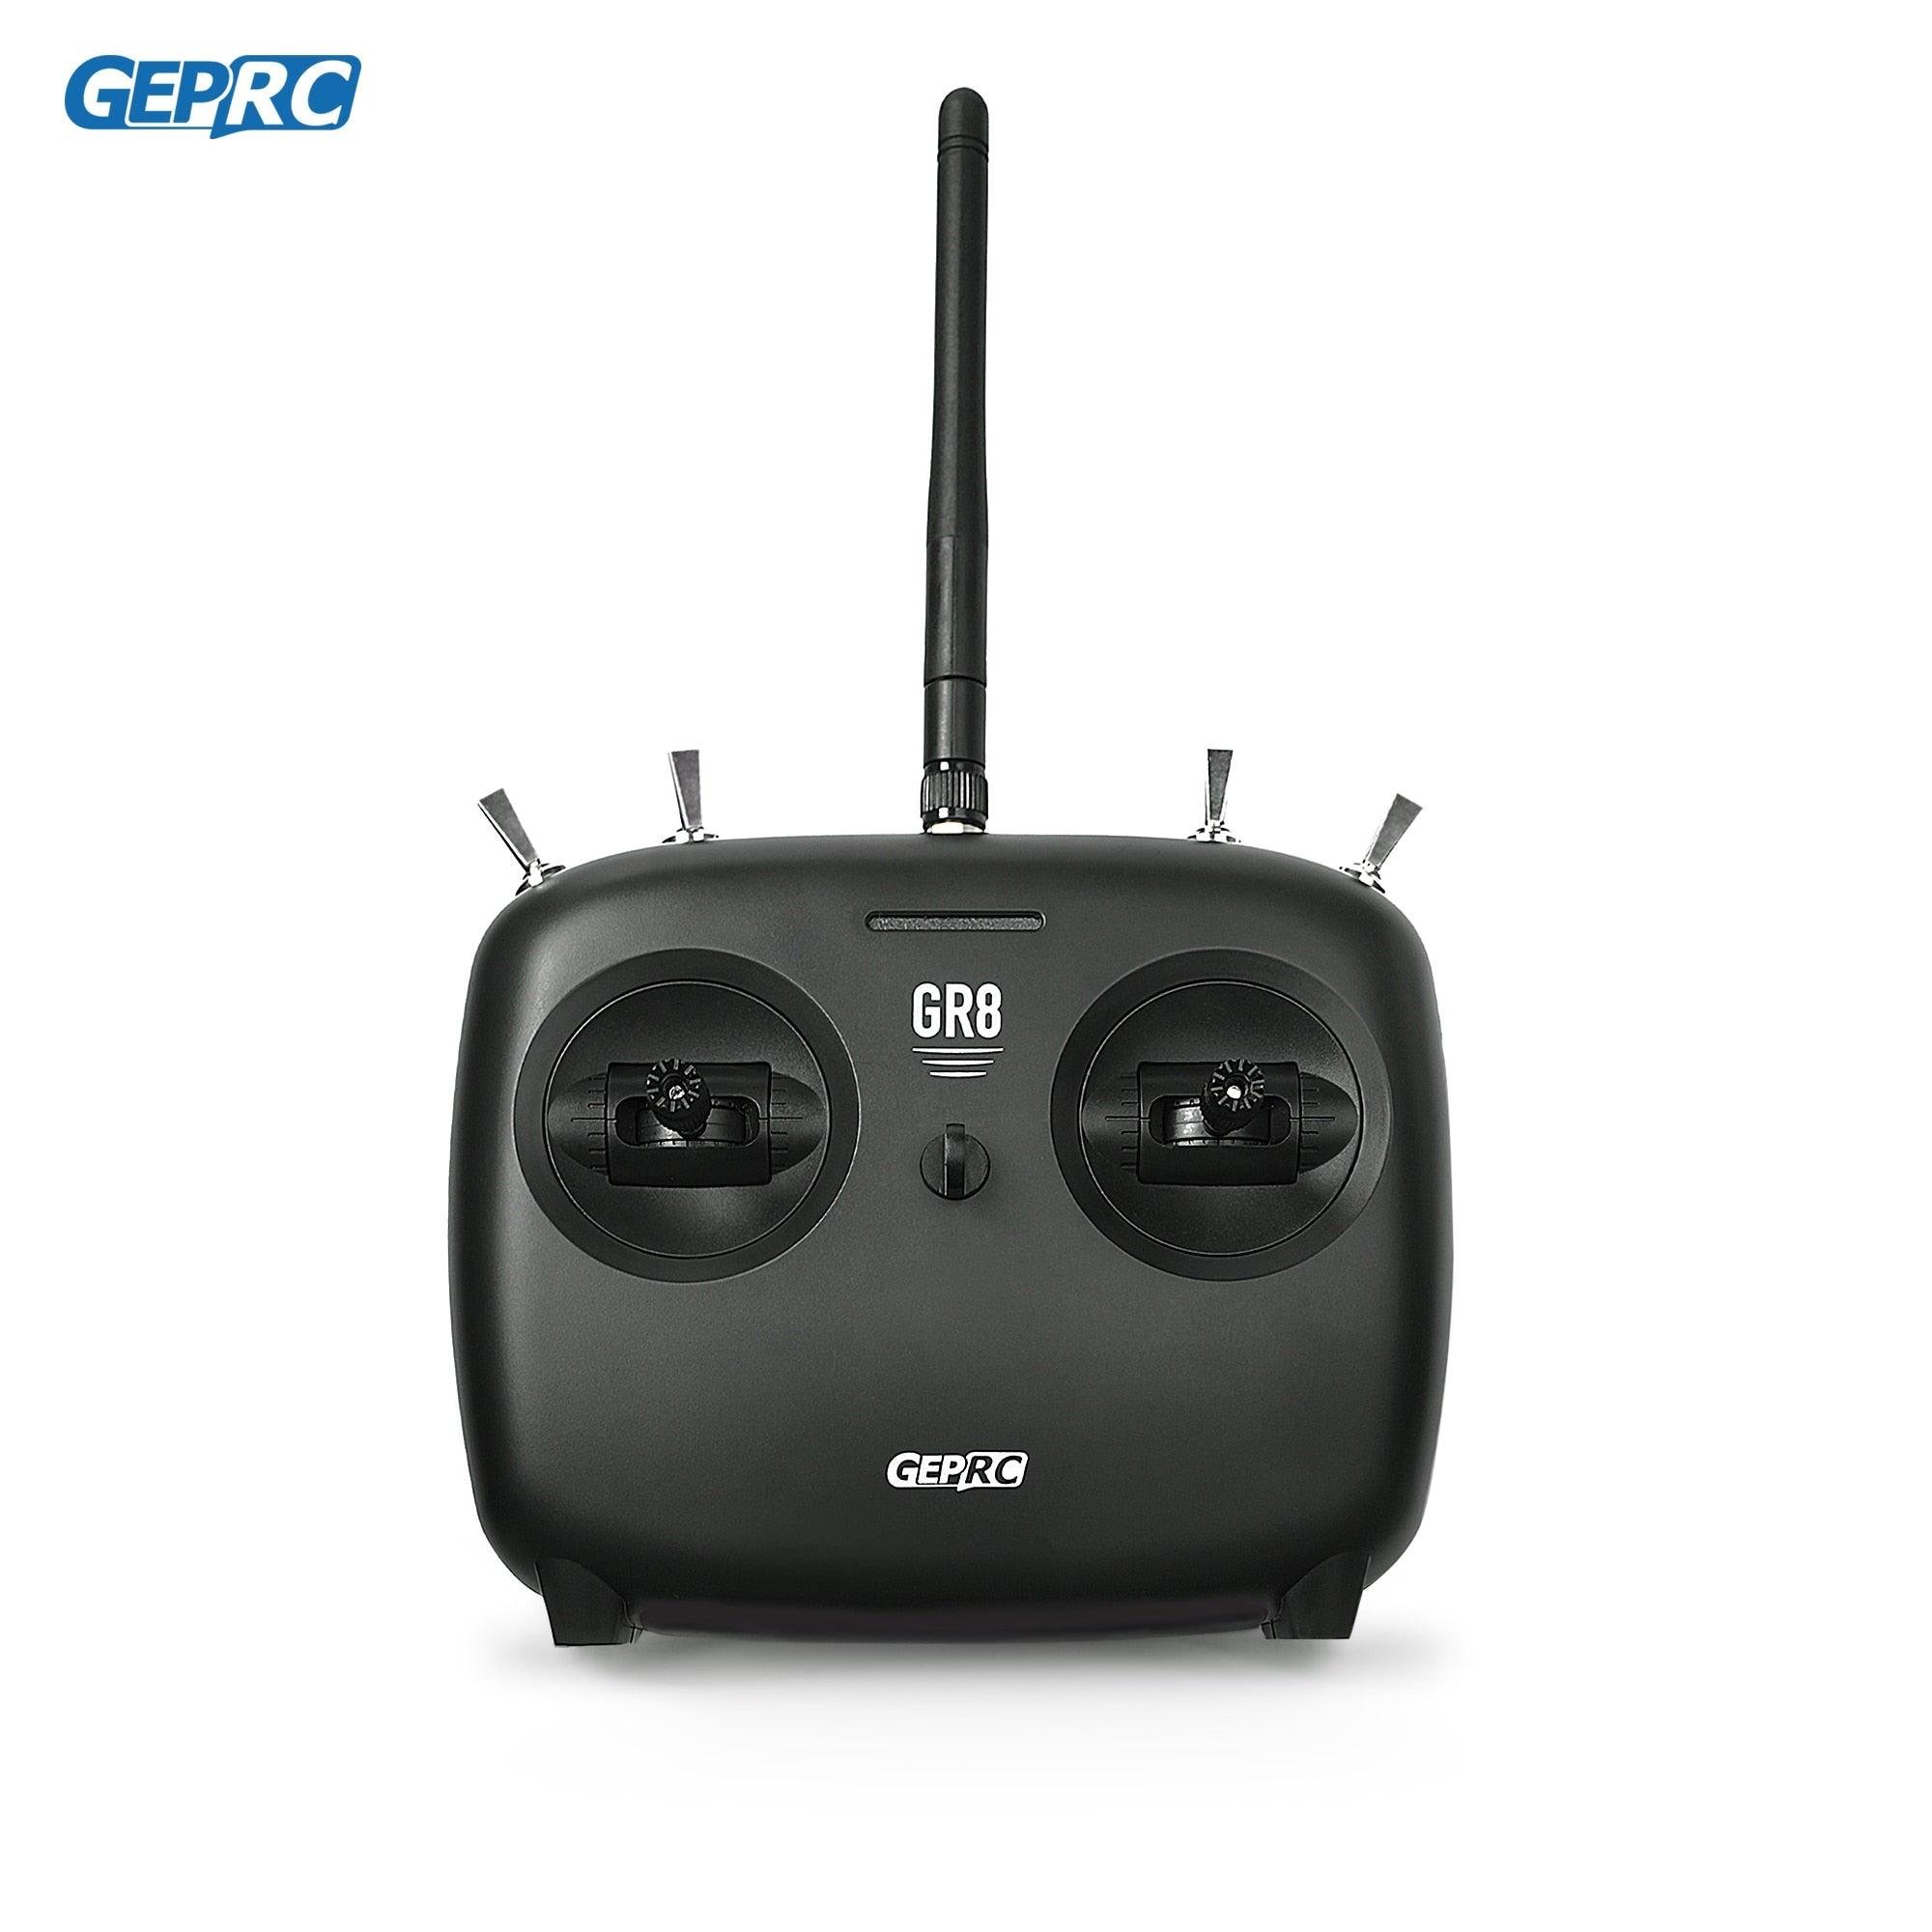
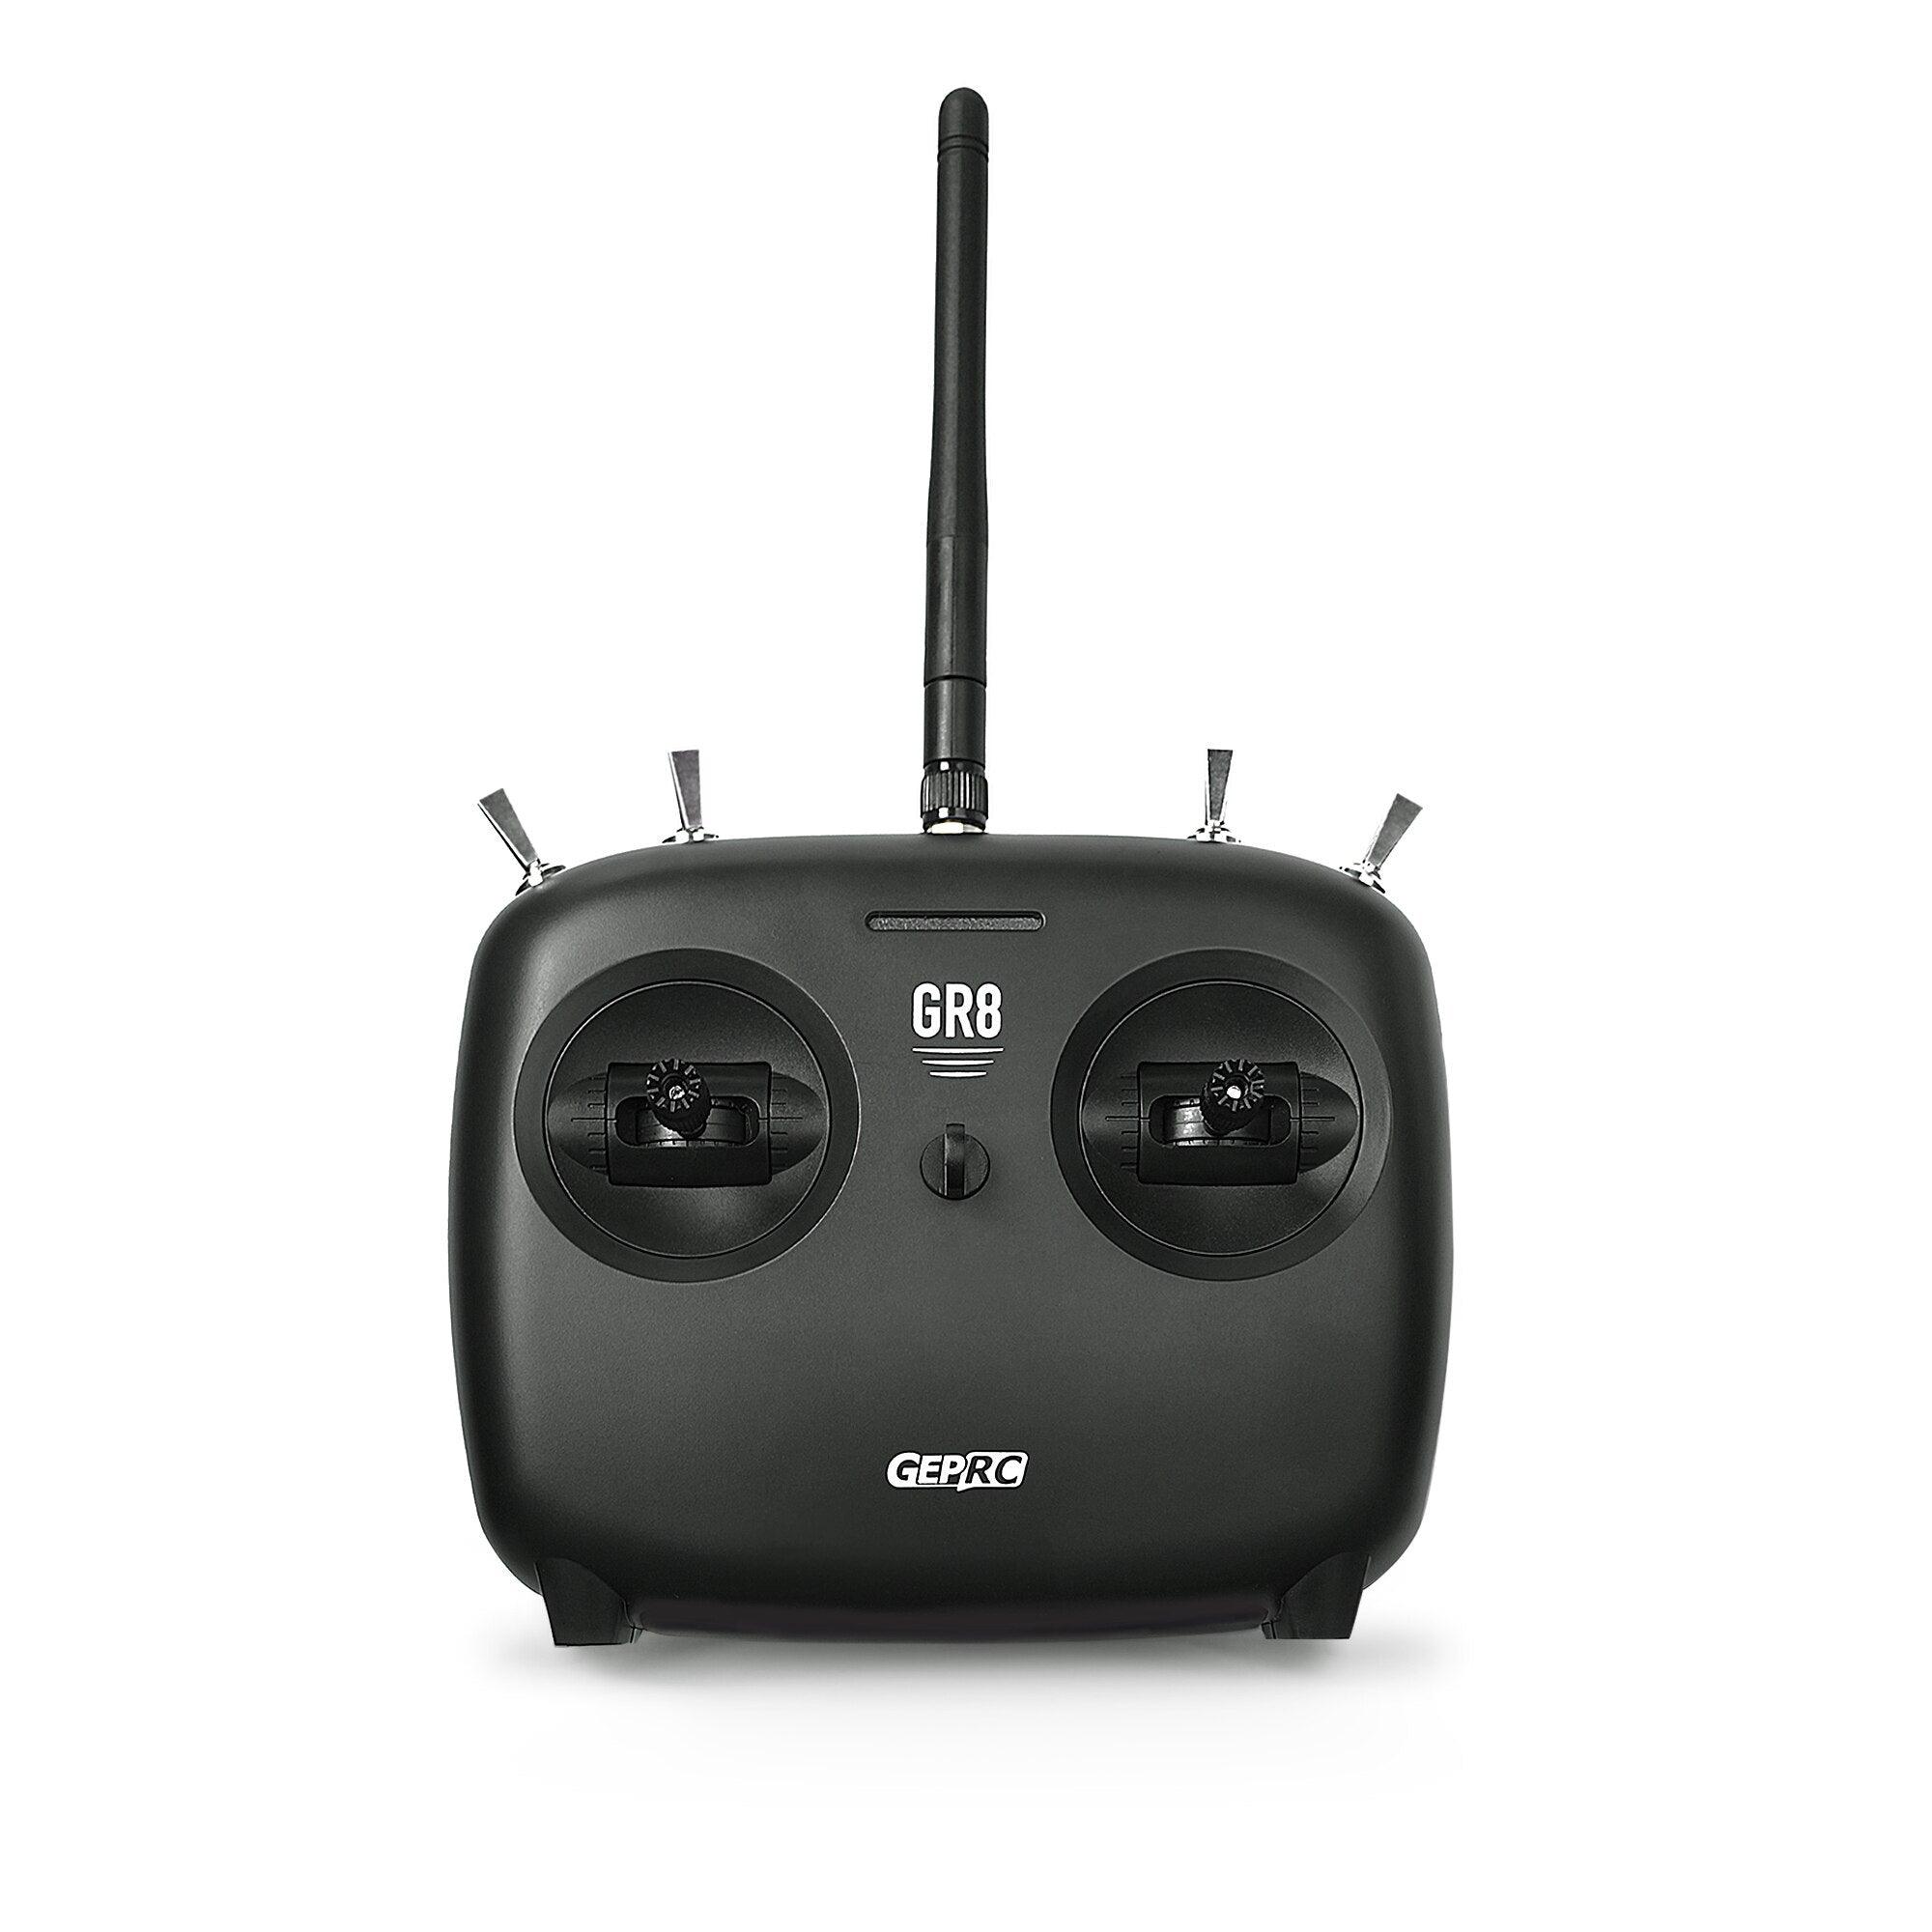
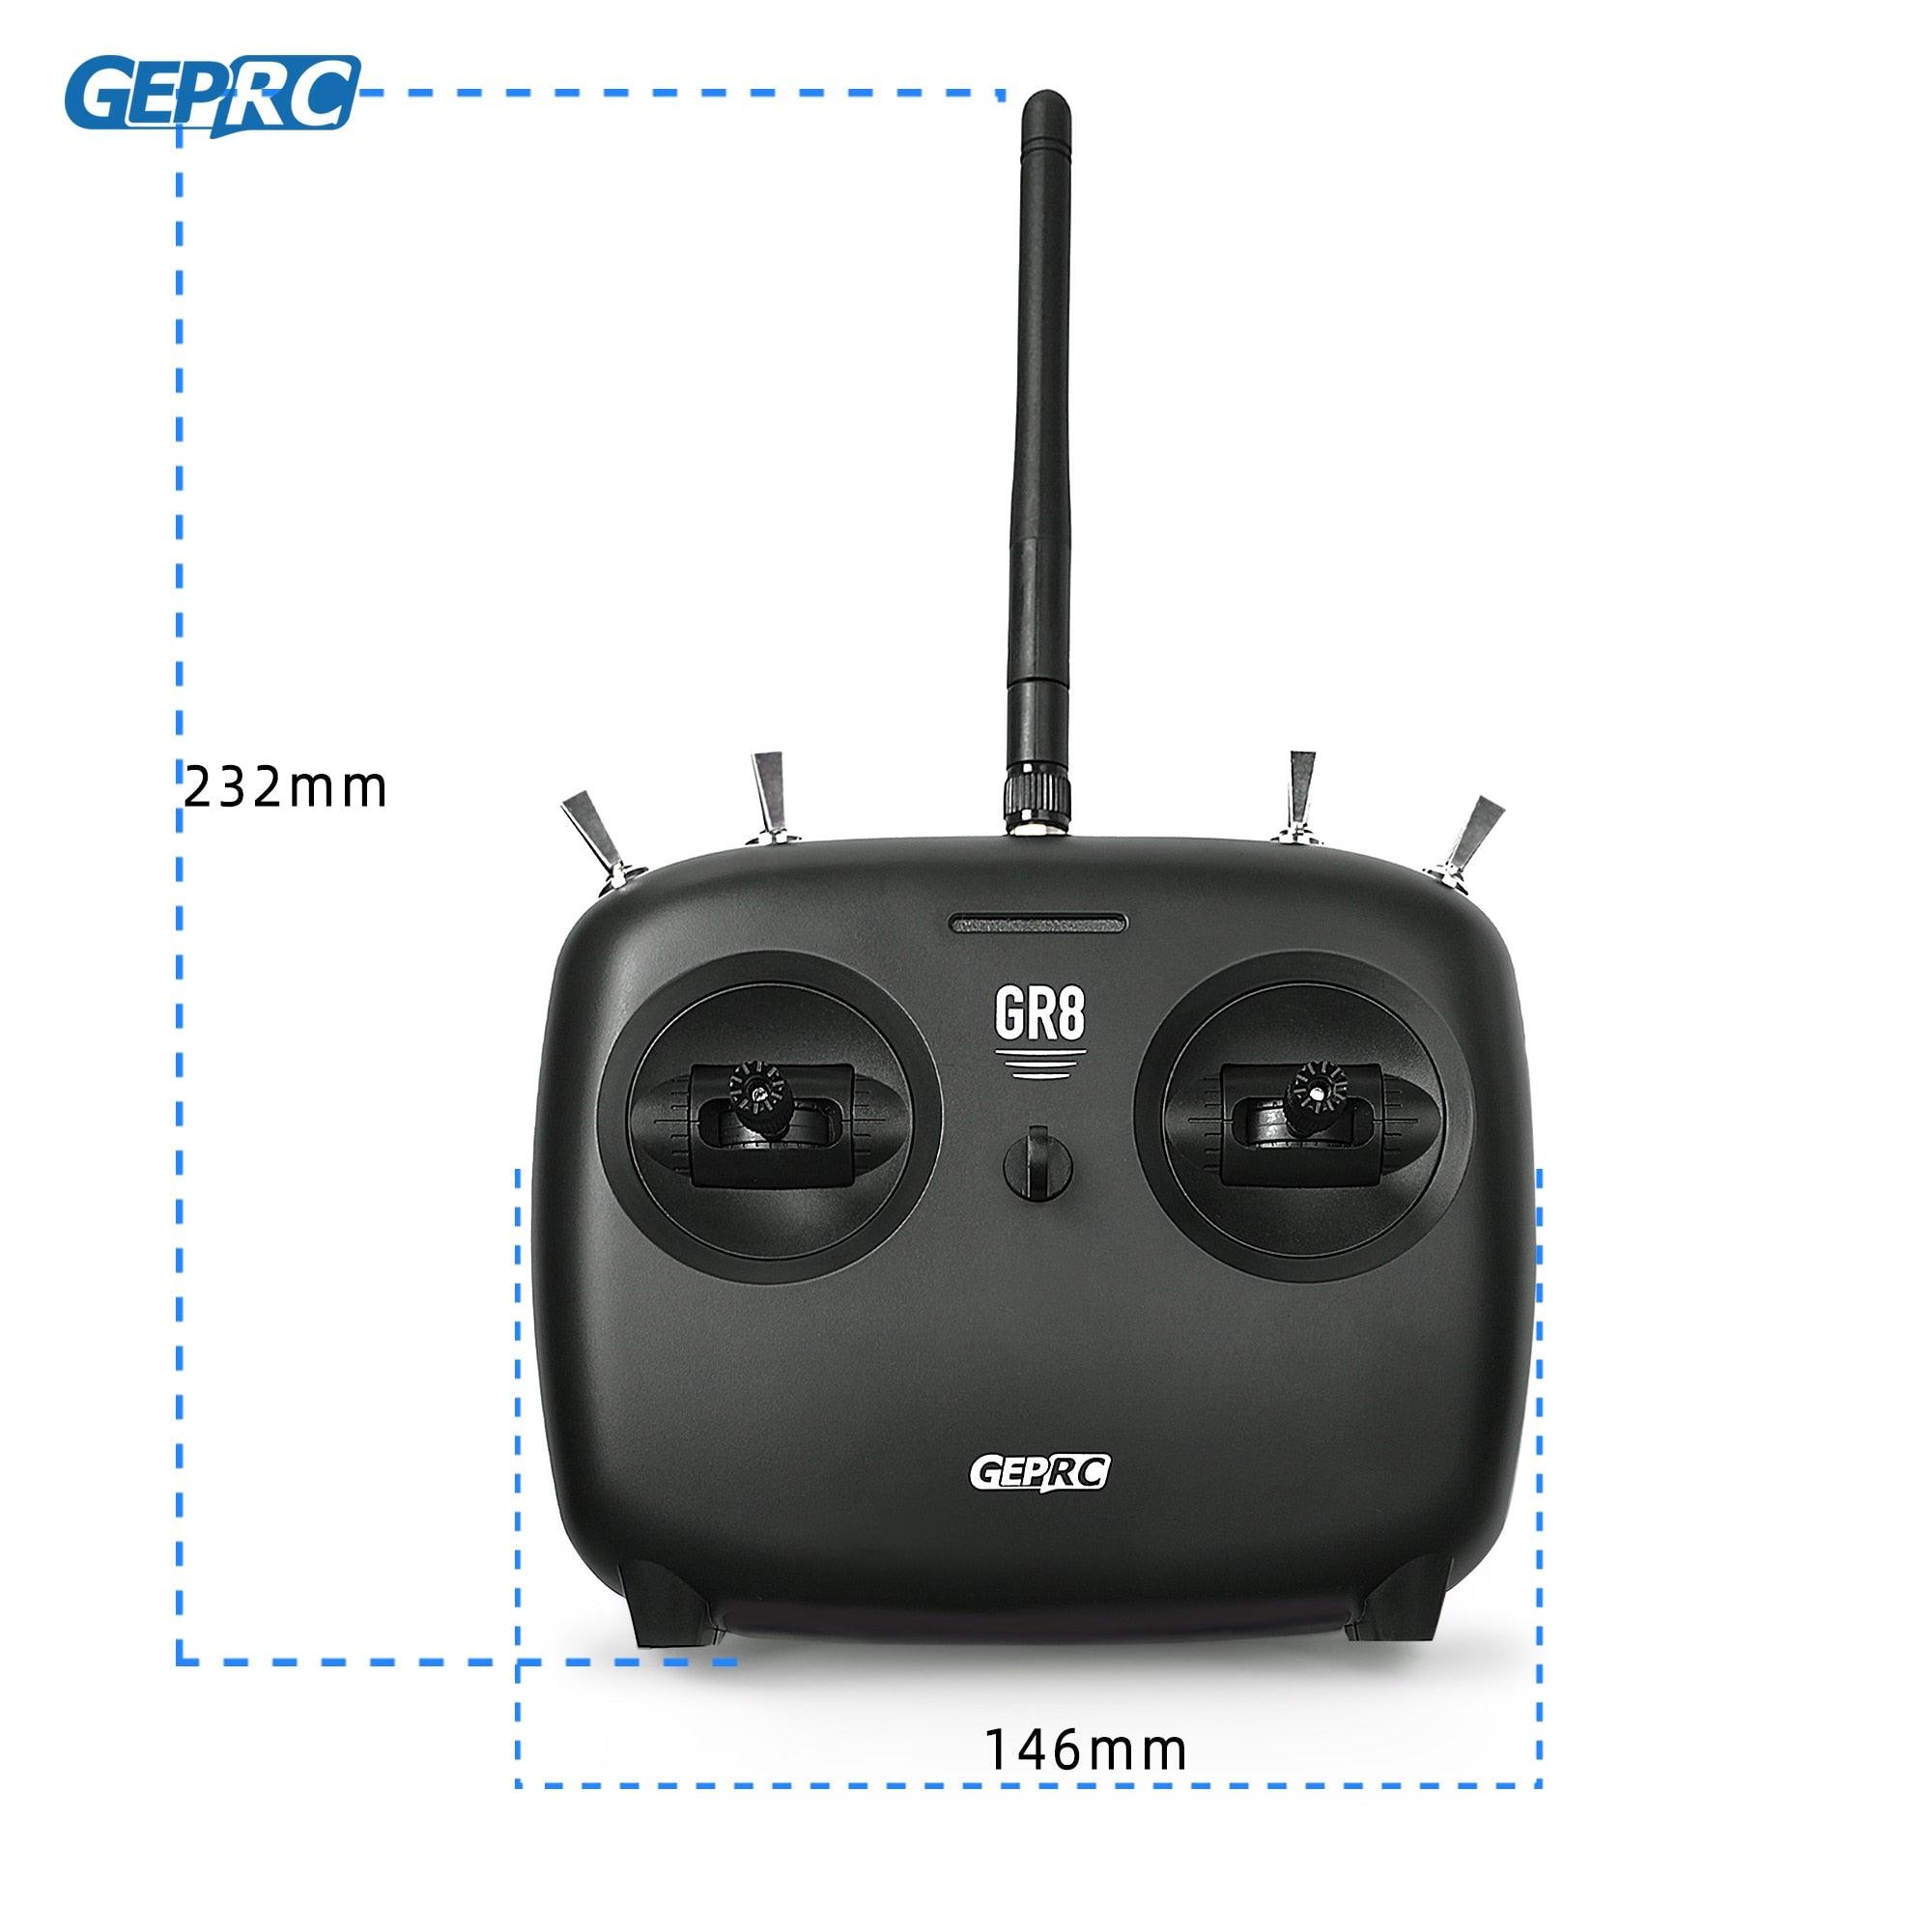
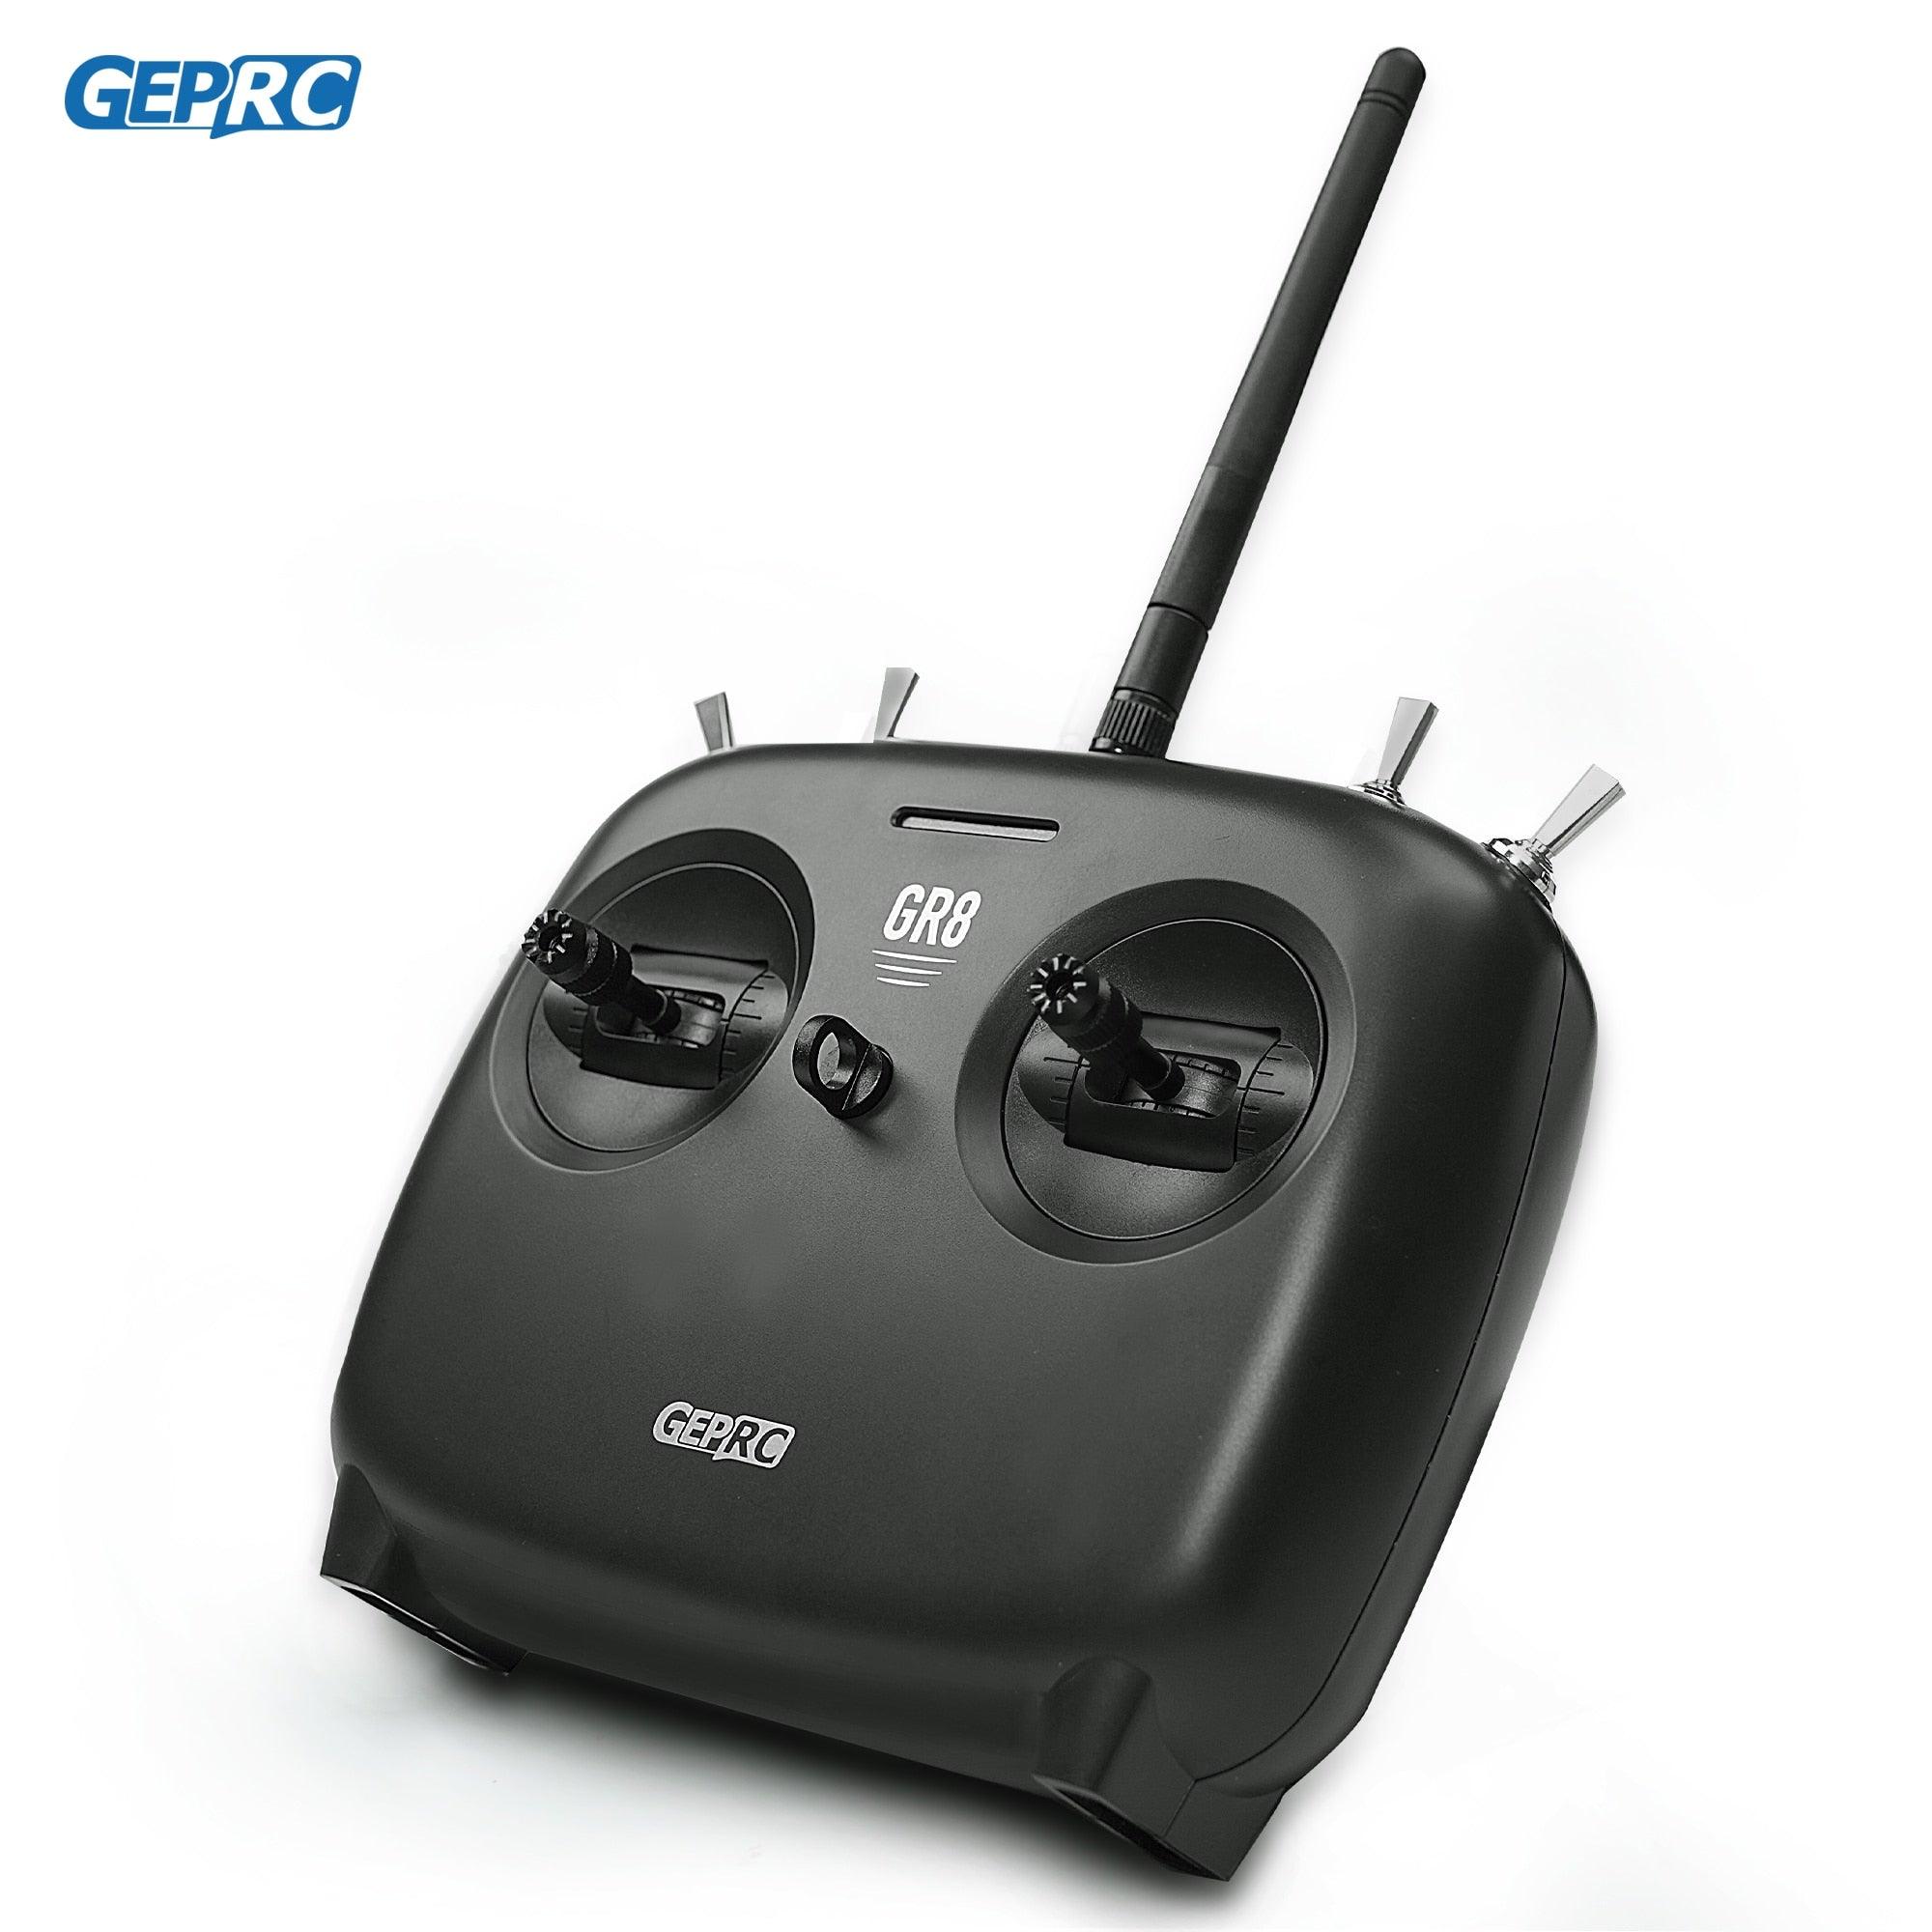
Model Number: GEPRC GR8 Remote Control Handle
Material: Metal
Four-wheel Drive Attributes: Handle
For Vehicle Type: Helicopters
Certification: FCC
Certification: WEEE
Certification: RoHS
Certification: CE
Brand Name: GEPRC
Summary:
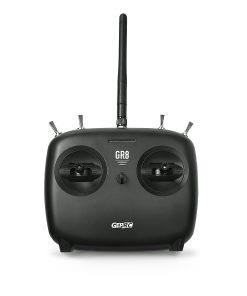
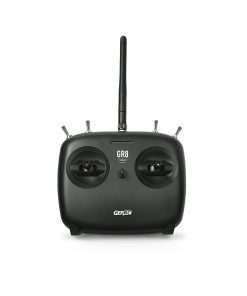
The TinyRadio GR8 remote controller has a two-way 2.4G communication protocol, with low latency and fast response, up to 7 milliseconds. When the receiver receives a low signal, the remote controller will vibrate as a warning sign. The receiver has the advantages of small size, high sensitivity, long receiver distance,S-BUS serial port output,etc.
Vibration motors can give users a better experience,when the motor dees not vibrate. lt indicates that the Signal and Data transmission are stable. when the motor vibrates,it means that the signal is weak and FPV should not continue to fly forward. When the battery voltage is lower than 6.6V, it will enter the low-voltage alarm. The low-voltage alarm will be shown on the LED flashing at 1Hz frequency.
Specifications:
Channels: 8
Support model: FPV
Wireless frequency: 2.4 GHz
Transmitting power: < 20 dBm
Wireless protocol: FHSS
Remote control range: > 100m
Battery: 18650 batteries or a 2S battery
Low voltage alarm: < 6.6V
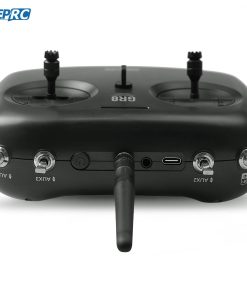
Antenna interface:SMA
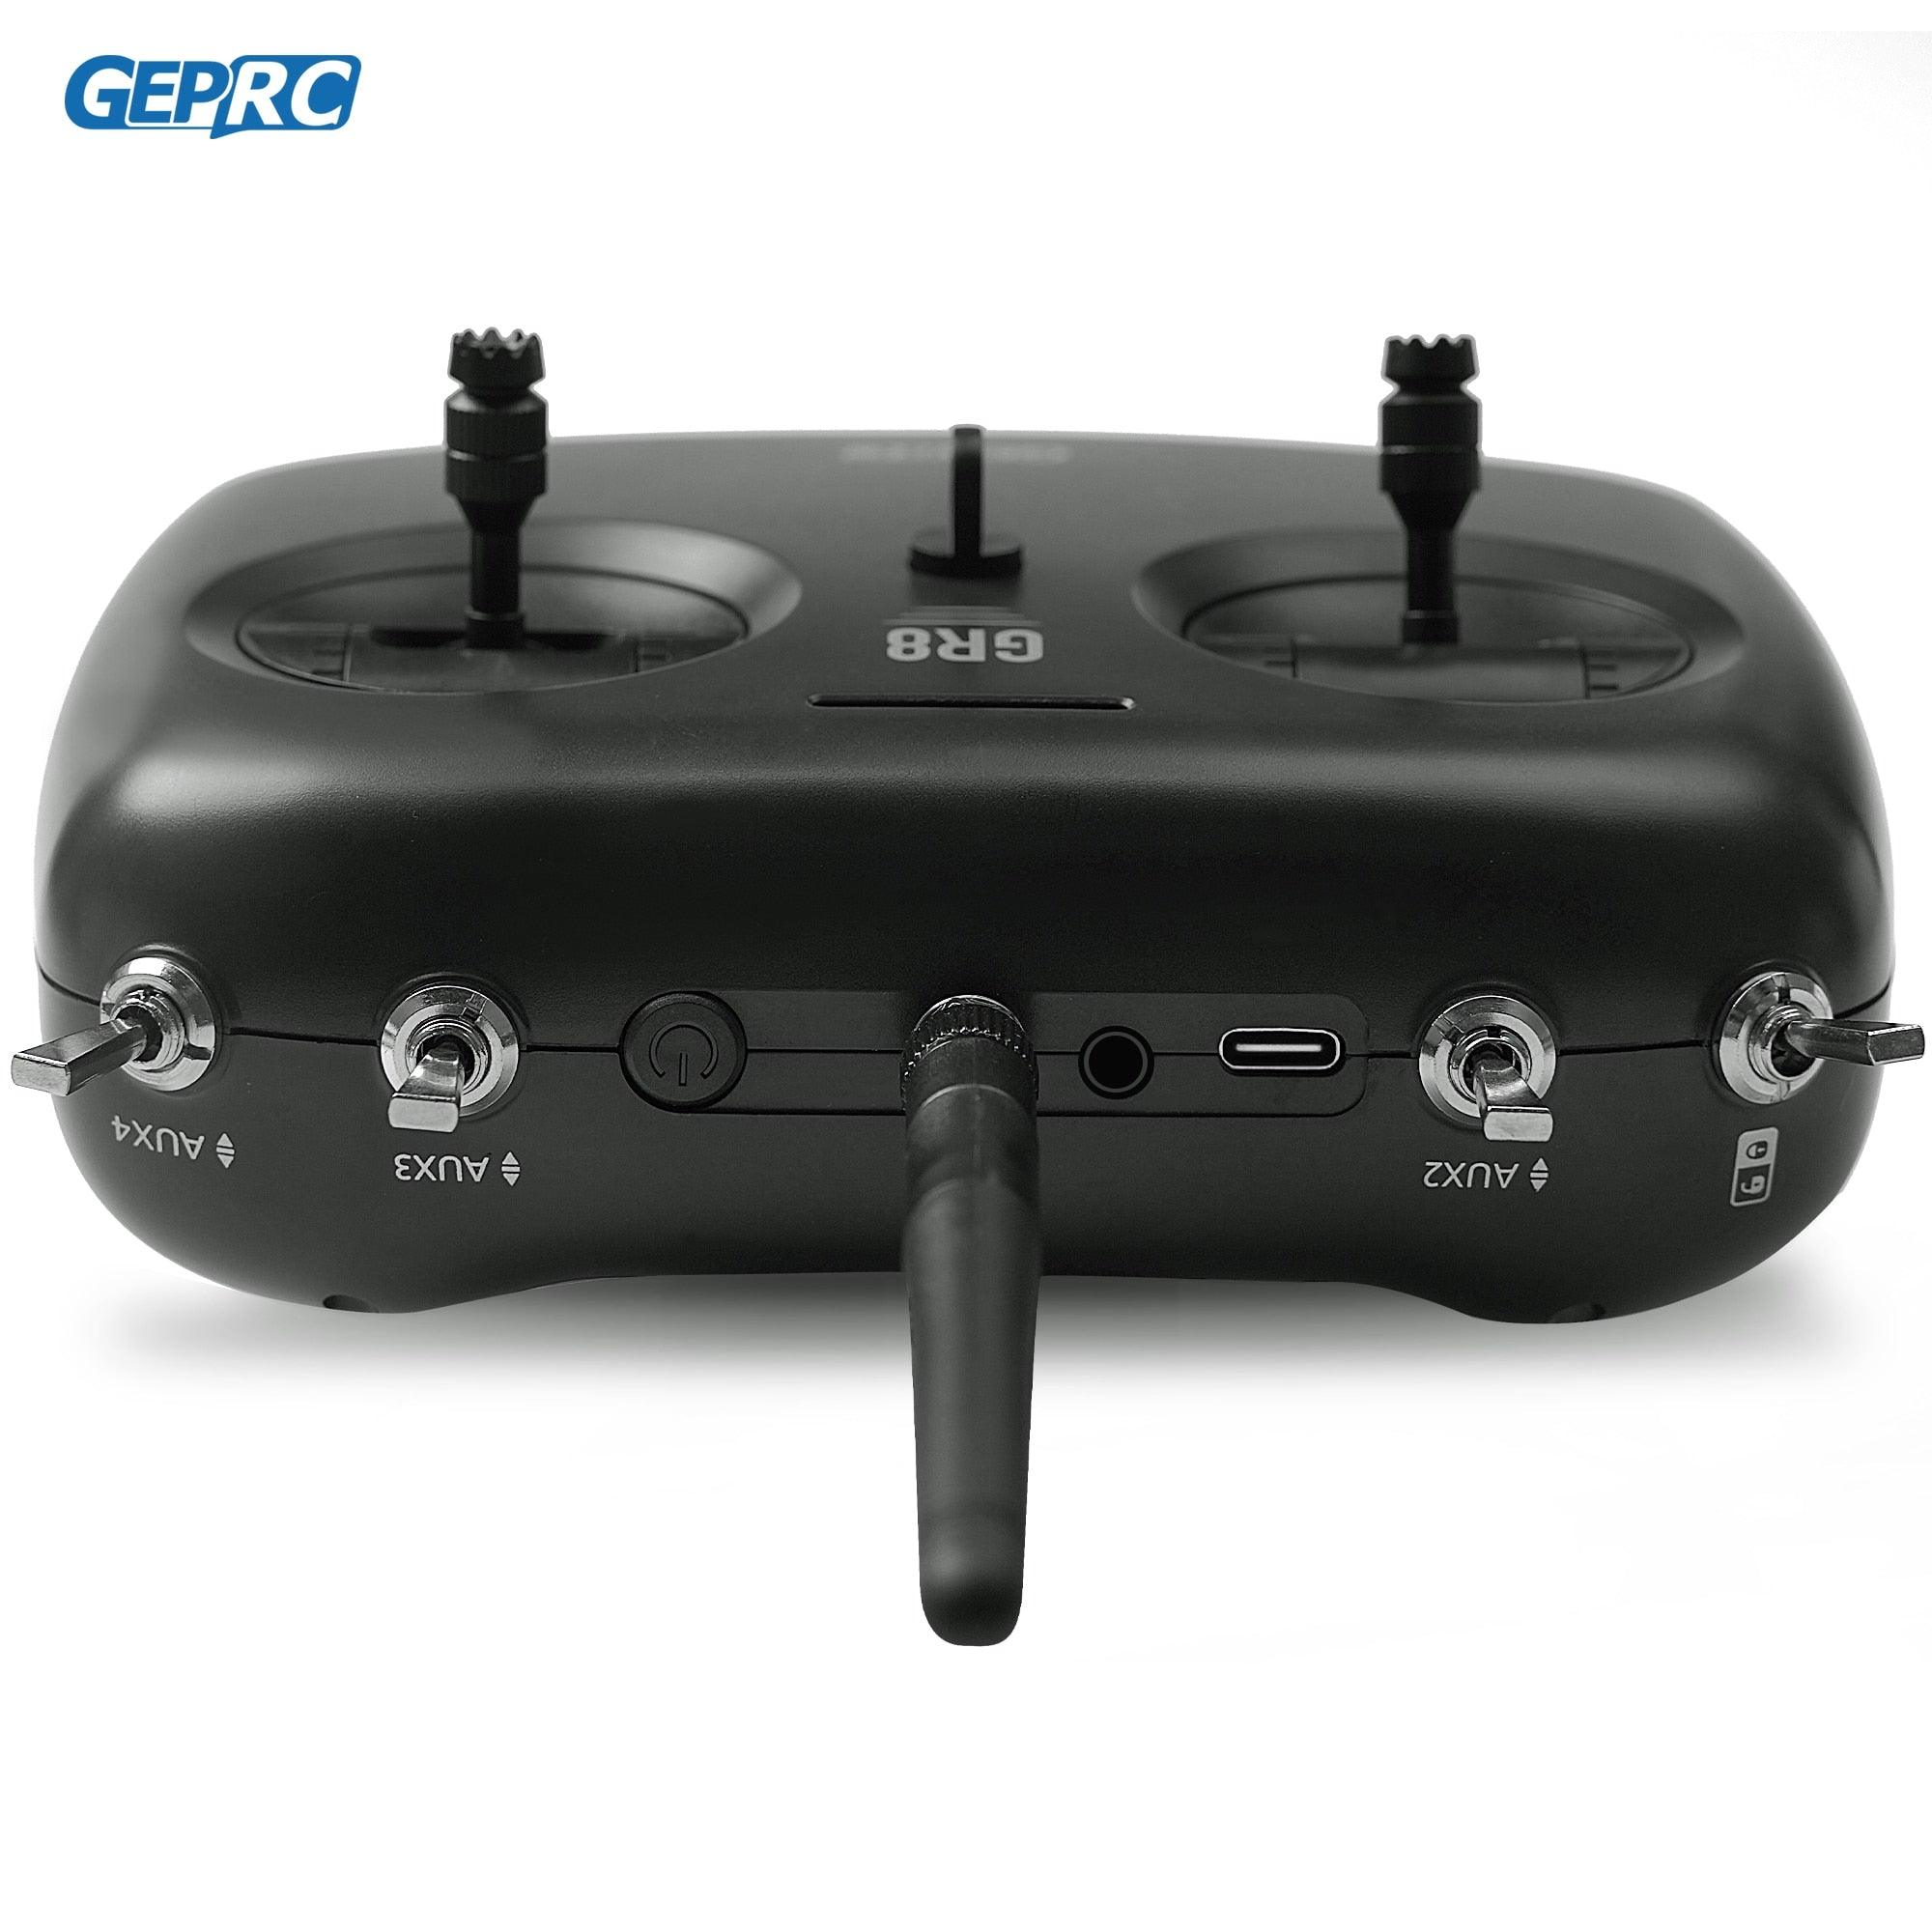
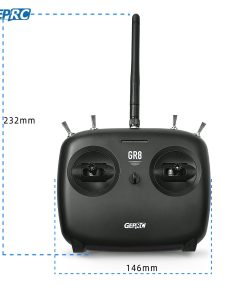
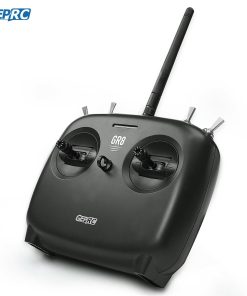
TinyRadio Remote Controller Diagram:

Function Guide:
Unlock Switch: Switch to control FPV Disarm and Arm.
DIY Switch: The AUX channel can be set by the user.
Function Switch: Normal/Buzzer/Crash flip.
Mode Switch: Switching three different flight Modes.
Antenna interface.
Power switch button.
Battery installation:
Open the bottom battery cover and insert two 18650 batteries or a 2S battery.(not included)
Notes:
1. Ensure the polarity symbols on the batteries match the symbols inside the battery compartment.
2. Do not mix new and old batteries.
3. Do not mix different types of batteries.

How to bind:
Press and hold the receiver. Supply power to the receiver and the receiver’s light flash quickly that means enter the frequency matching state.
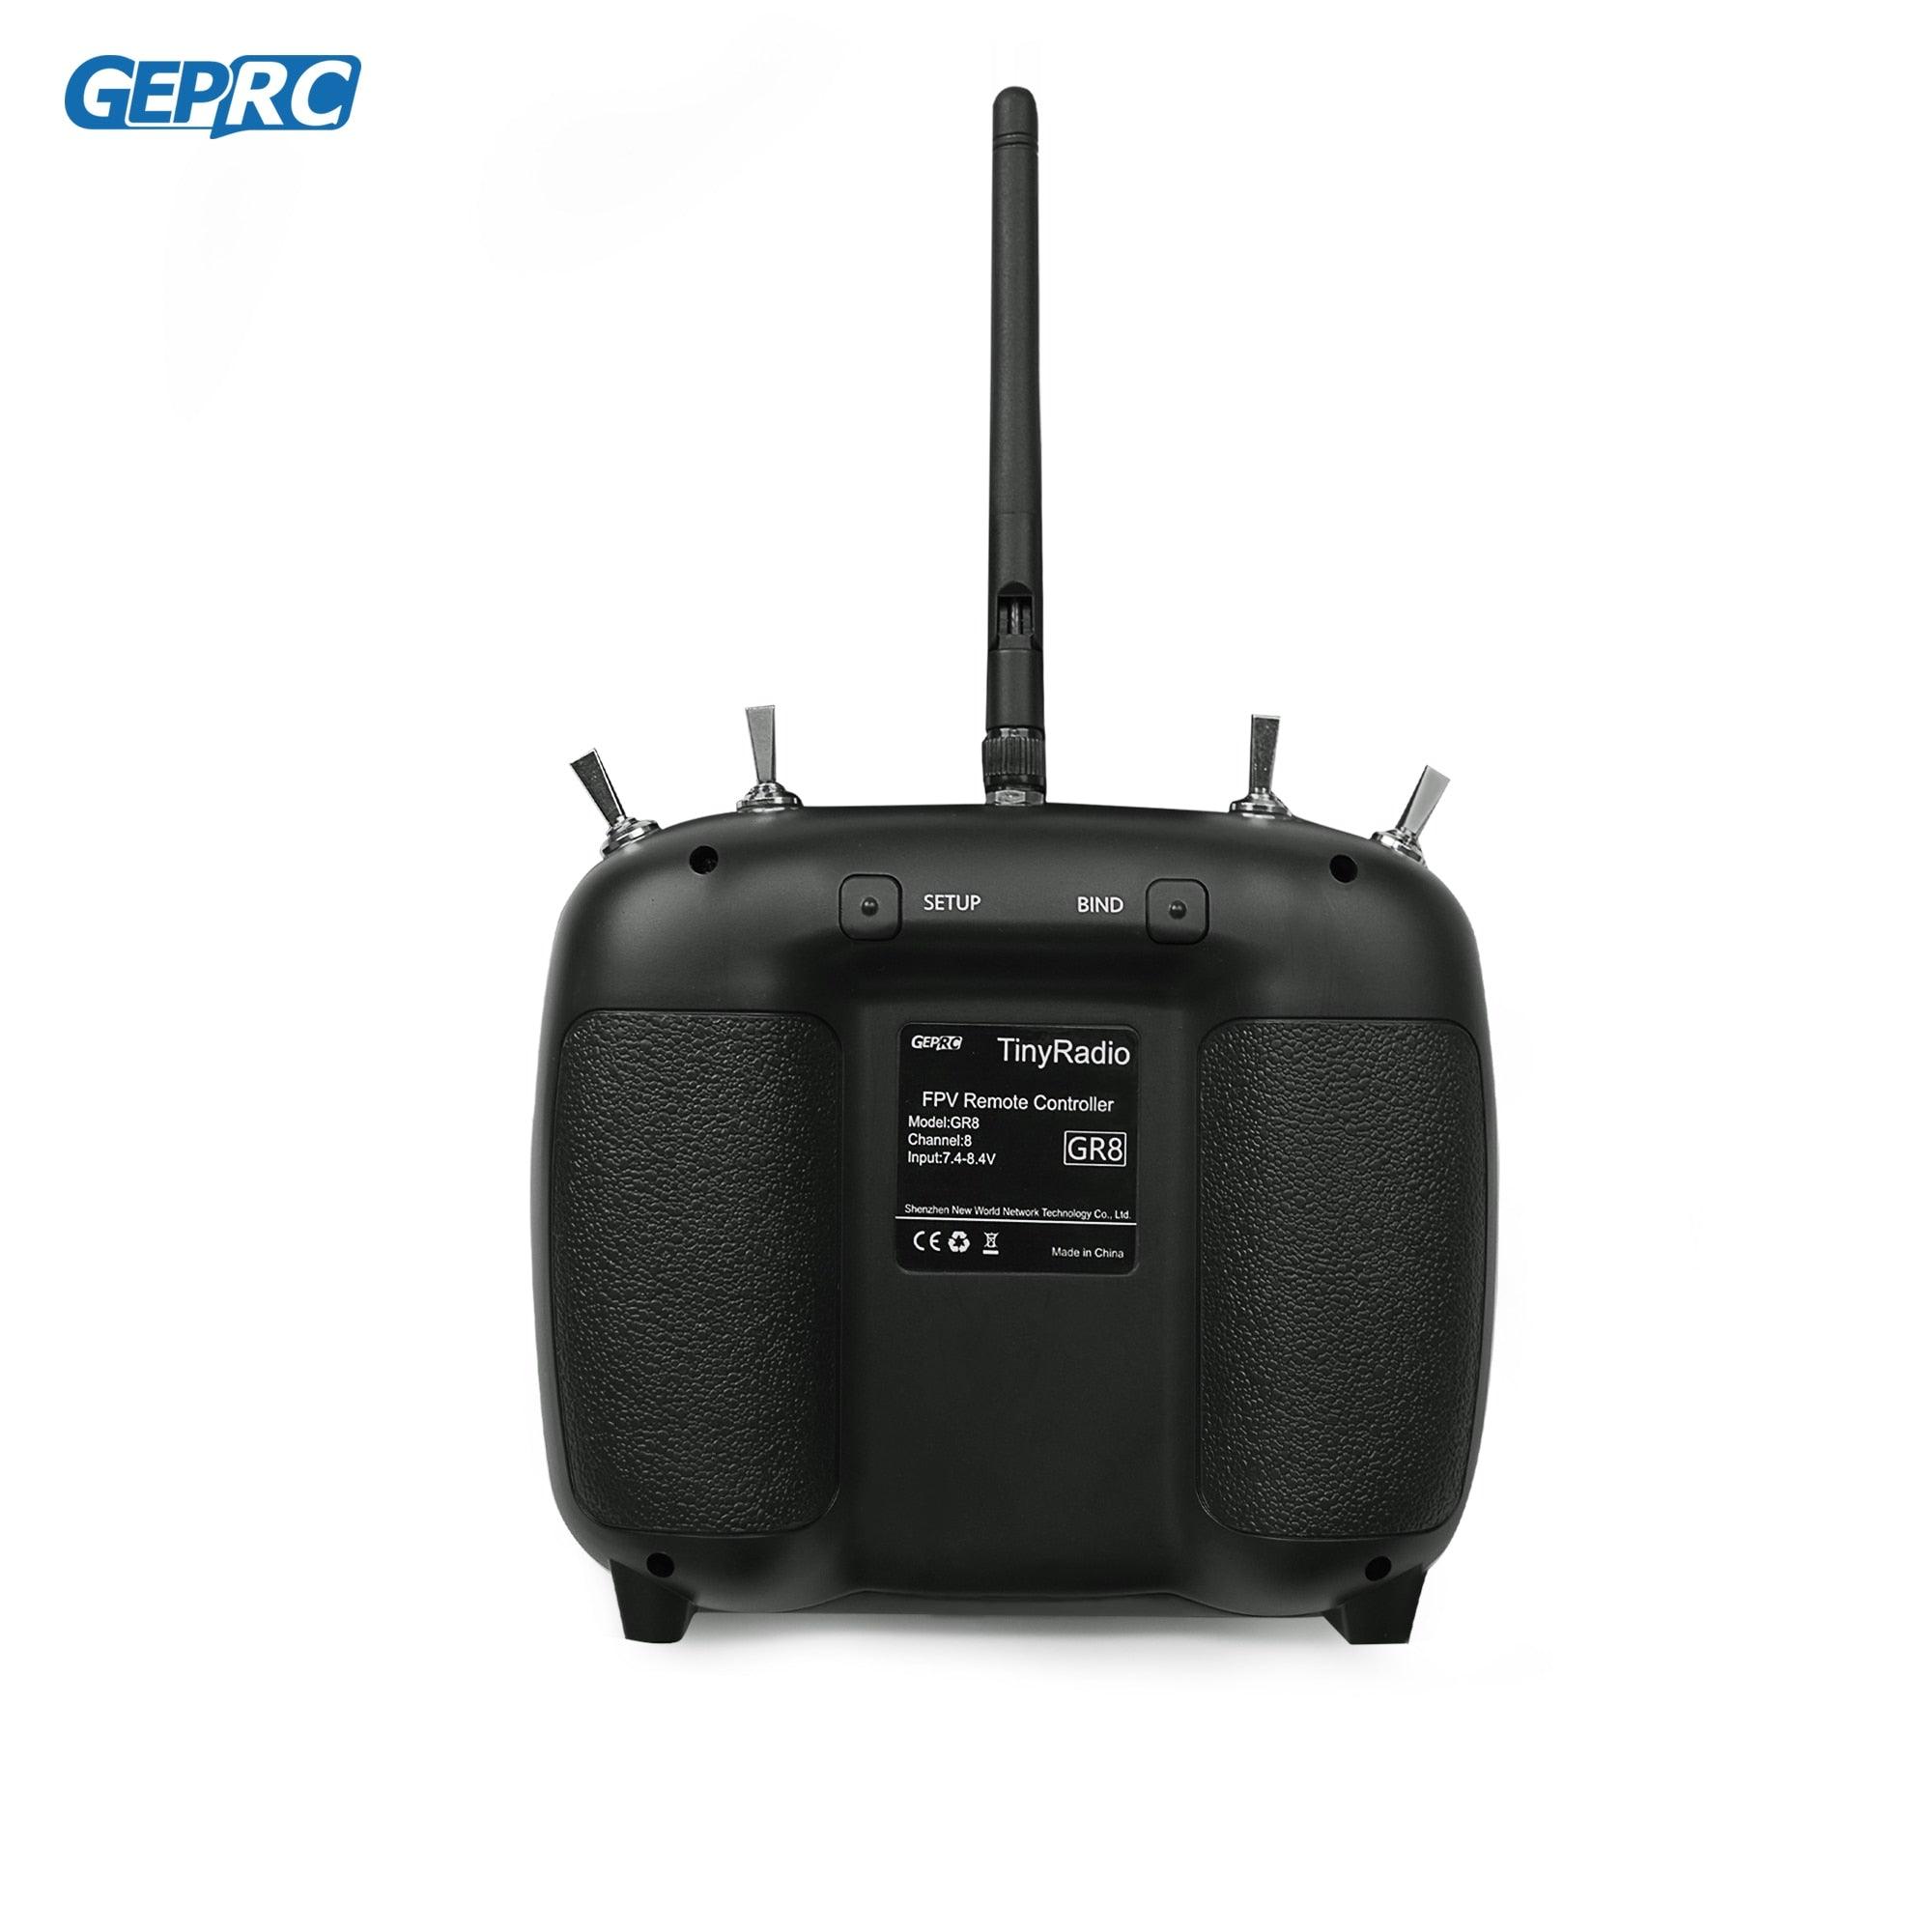
Press and hold the bind button of the remote controller,and then turn on the remote controller.
The remote controller’s light and receiver’s light is on for a long time. Binding is successful.
The Rocker keep in the center and calibrated:
Hold the left and right rocker still,press and hold the SETUP button for more than 4 seconds until the buzzer beep three times continuously, and the center calibration is completed successfully.
Status of Remote controller:
The remote control continuously vibrating. and the Indicator light flashes slowly(The signal is about to be lost and needs to return).
Remote control rocker can’t return to center position automatically (FPV yawed. need to calibrate remote control).
Low voltage alarm (LED flash by 1 Hz frequency).


